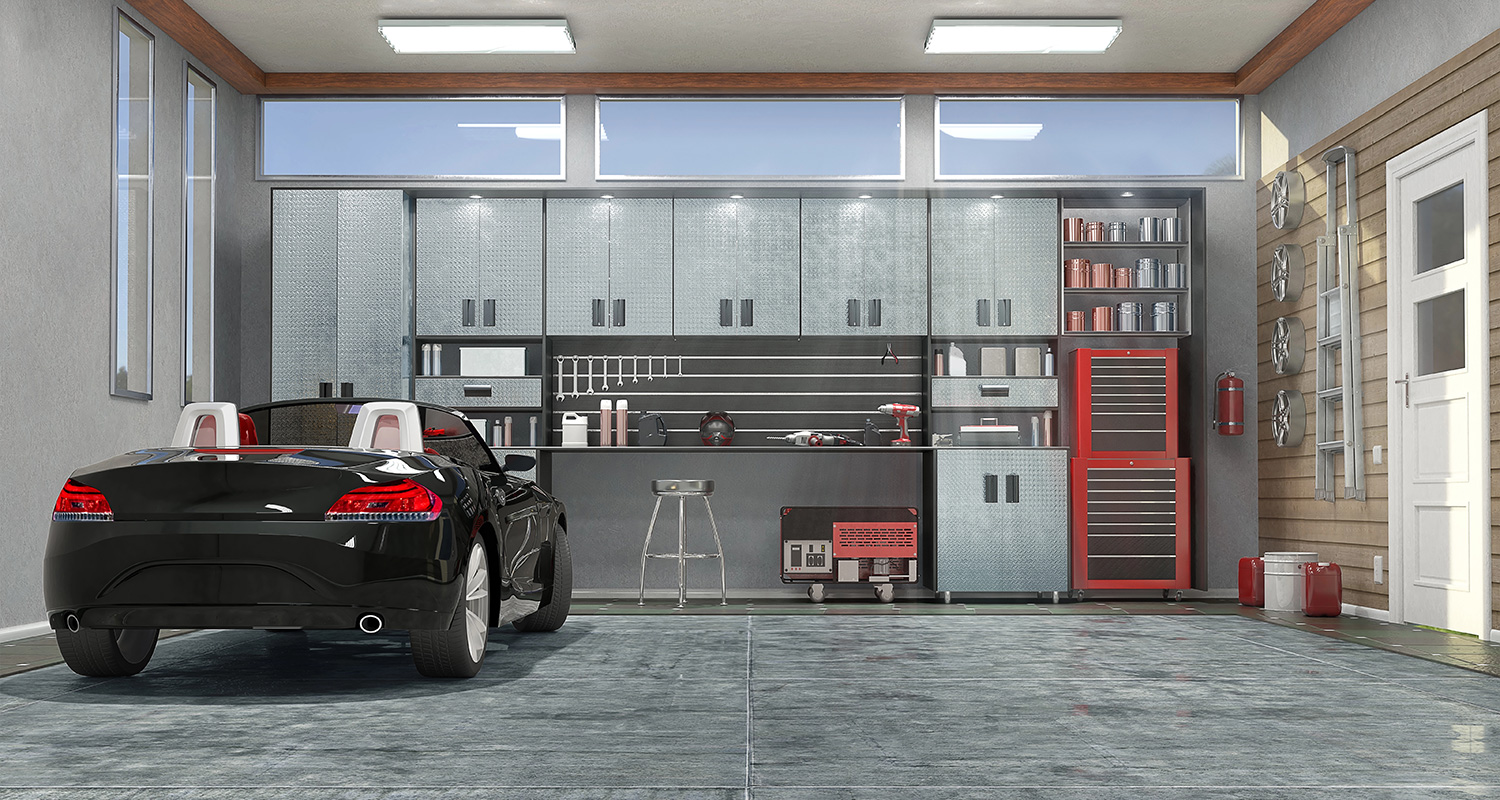
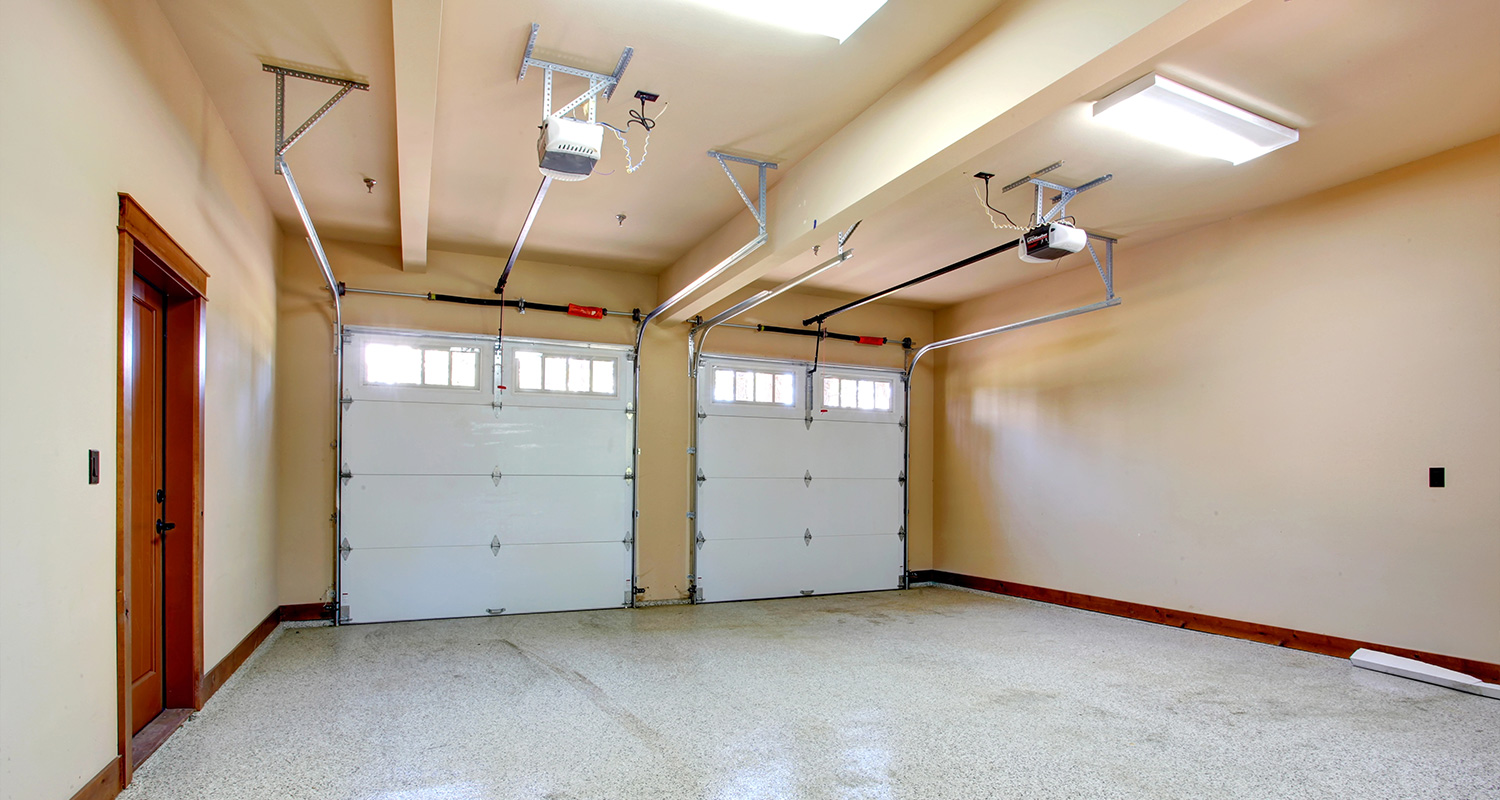
Embarking on a custom garage project is an exciting journey that offers the opportunity to create a space tailored to your unique needs and preferences. Whether you’re looking to enhance your home’s value, create a dedicated workspace, or simply need more storage, a custom garage can be a versatile addition to your property.
But before diving into construction, it’s crucial to understand that a successful custom garage project requires careful planning, budgeting, and execution. This guide will walk you through the seven vital steps to kickstart your dream build, ensuring that your project runs smoothly from start to finish. By following these steps, you’ll be well on your way to creating a functional and aesthetically pleasing garage that perfectly complements your lifestyle.
Step 1: Define Your Custom Garage Project Goals
Understanding Your Needs
Before starting your custom garage project, it’s crucial to define your goals. Determine what you want to achieve with the new space to ensure every decision supports your vision and maximizes the garage’s utility.
- Identify the Purpose: Decide the primary function—parking, a workshop, or a home gym. The main purpose will influence design and material choices.
- Consider Future Uses: Plan for future needs. A garage used for storage today could become a guest suite or office later. A flexible design now can save time and money later.
- Assess Your Property: Choose the best location based on available space, access points, and how the garage integrates with your home.
- Establish Priorities: Determine which features are essential—like built-in storage or high ceilings—and prioritize them according to your budget and space.
Importance of Goal Setting
Clear goals provide a roadmap for your custom garage project and help avoid costly mistakes. For example, a garage designed solely for vehicle storage will differ significantly from one meant to double as a workshop. Use the SMART goal framework (Specific, Measurable, Achievable, Relevant, Time-bound) to keep your project focused and on track.
Useful Tip
Create a mood board with images, colors, and design elements to visualize your ideas and communicate effectively with contractors.
By defining your goals early, you streamline the decision-making process and ensure your custom garage meets all your needs and expectations.
Step 2: Establish a Realistic Budget for Your Custom Garage
Budget Planning and Cost Considerations
Creating a realistic budget is key to a successful custom garage project. It helps avoid unexpected expenses and keeps the project manageable. Break down costs into categories to allocate funds effectively:
- Design and Planning Costs: Allocate 5-10% of your total budget for architectural plans, design consultations, and site surveys.
- Permits and Approvals: Costs vary by location and project scope, ranging from a few hundred to several thousand dollars. Plan for these expenses early.
- Construction Costs: This is the largest expense, covering materials, labor, and contractor fees. Expect to spend between $35 to $70 per square foot, with higher costs for custom features.
- Utilities and Features: Budget for integrating utilities like electricity, plumbing, and HVAC, plus custom storage solutions and security systems.
- Finishing Touches: Include costs for paint, flooring, and landscaping, which enhance your garage’s look and functionality.
Budgeting Tips and Strategies
- Set a Contingency Fund: Reserve 10-15% of your total budget for unforeseen costs, such as site issues or last-minute changes.
- Get Multiple Quotes: Compare quotes from several contractors and suppliers to ensure competitive pricing.
- Prioritize Your Spending: Focus on high-priority elements like quality materials or specific features, adjusting other areas to stay within budget.
Sample Budget Breakdown
| Expense Category | Estimated Cost |
|---|---|
| Design and Planning | $2,500 – $5,000 |
| Permits and Approvals | $500 – $2,000 |
| Construction (1,000 sq ft) | $35,000 – $50,000 |
| Utilities and Features | $5,000 – $10,000 |
| Finishing Touches | $2,000 – $5,000 |
| Total | $45,000 – $72,000 |
Importance of Staying Within Budget
Adhering to your budget is essential to avoid financial strain and maintain project quality. Use budgeting software or spreadsheets to track expenses and adjust as needed. Regular budget reviews with your contractor can help keep the project on track.
Setting a realistic budget from the outset allows you to focus on the exciting parts of your custom garage project, like design and functionality, without financial stress.
Step 3: Design Your Custom Garage Layout and Features
Planning the Layout
A well-designed layout is key to a successful custom garage project. It ensures functionality and aesthetics, whether for vehicle storage, a workshop, or multi-use space.
Key Considerations for Layout Design
- Space Allocation:
- Vehicle Storage: Plan for the number of vehicles and any additional equipment or tools.
- Work Areas: Allocate space for workbenches and tools if you plan a workshop. Ensure there’s enough room for safe movement and equipment use.
- Storage Solutions: Utilize vertical and horizontal storage options like shelving, overhead racks, and cabinets.
- Access and Workflow: Design for easy access to vehicles and tools to minimize clutter and enhance efficiency.
- Zoning:
- Dedicated Zones: Create specific areas for different uses, such as parking, workshop, and storage, to keep the garage organized.
- Separation of Spaces: Use partitions or walls to separate zones, reducing noise and dust.
- Lighting and Ventilation:
- Natural and Artificial Light: Use windows or skylights and a mix of lighting types for different areas.
- Ventilation: Consider exhaust fans or HVAC systems for good airflow, especially in work areas.
- Aesthetics and Materials:
- Style Matching: Align garage design with your home’s architecture.
- Durable Flooring: Choose materials like epoxy or concrete for easy maintenance and durability.
- Interior Finishes: Insulation and paint improve energy efficiency and comfort.
Incorporating Custom Features
Add unique touches to your garage to suit your needs:
- Storage Solutions: Custom cabinets, shelves, and overhead racks maximize space.
- Vehicle Lifts: Ideal for car enthusiasts or additional storage.
- Workshop Essentials: Heavy-duty workbenches and tool storage maintain an organized workspace.
- Comfort Features: Heating, cooling, and soundproofing enhance usability and comfort.
Useful Tip
Use design software or create a model to visualize and perfect your layout before finalizing it.
Designing a strategic layout and including custom features tailored to your needs will make your custom garage both functional and visually appealing.
Step 4: Choose the Perfect Location and Design
Evaluating the Best Location for Your Custom Garage
Choosing the right location for your custom garage is crucial for functionality and aesthetics. The placement affects accessibility, appearance, and integration with your property.
Key Considerations for Location:
- Proximity to Your Home: Decide if you prefer an attached garage for convenience or a detached one for design flexibility and reduced noise.
- Property Layout: Assess available space and land conditions. Ensure the site can accommodate the garage size without overcrowding and consider soil and drainage.
- Zoning and Regulations: Check local building codes and HOA guidelines to determine placement, size, and design restrictions.
- Orientation and Sunlight: Position the garage to optimize natural light and minimize exposure to harsh weather conditions.
- Driveway Access: Ensure easy and safe access from the road or driveway, considering slope and visibility.
Designing the Garage to Complement Your Property
Your garage should enhance your property’s look and functionality. A well-designed garage boosts curb appeal and home value.
Design Elements to Consider:
- Architectural Harmony: Match your garage’s style with your home’s architecture using similar materials, rooflines, and colors.
- Exterior Finishes: Choose durable, low-maintenance materials that complement your home, like brick, vinyl siding, or stucco.
- Windows and Doors: Select garage doors and windows that align with your home’s design for a cohesive appearance.
- Landscaping Integration: Use landscaping to blend the garage with your property, adding paths, plantings, and lighting for a seamless transition.
Useful Tip
Use design software or consult an architect to visualize different placements and designs. This helps in making informed decisions and avoiding costly mistakes.
By carefully selecting the location and design, you ensure your custom garage complements your home and meets all functional needs.
Step 5: Secure Necessary Permits and Approvals
Understanding the Importance of Permits
Obtaining the right permits is crucial for any custom garage project. Permits ensure your construction complies with local building codes, safety regulations, and zoning laws, preventing potential fines, delays, or forced removal of the structure.
Key Considerations for Securing Permits:
- Building Permits: Required for new construction or major modifications to ensure compliance with safety standards for foundation, framing, roofing, and electrical work.
- Zoning Permits: Ensure the garage meets local zoning laws regarding land use, building size, height, placement, and setback requirements.
- Environmental Permits: Needed for projects affecting stormwater management or involving tree removal, especially in areas with strict conservation rules.
- Historical and HOA Approvals: Required if the property is in a historic district or governed by a homeowners’ association, which may have specific design and placement restrictions.
Steps to Secure Permits:
- Research Local Regulations: Contact your local building department to understand the required permits, procedures, and fees. Check for online resources.
- Prepare Your Application: Gather necessary documents, including site plans, architectural drawings, and engineering reports. Complete all forms accurately.
- Submit Your Application: Submit the application and be prepared for a review process that may take several weeks. Provide additional information or modify plans if requested.
- Approval and Compliance: Once approved, keep permits on-site during construction for inspections. A final inspection will ensure compliance with safety and building codes.
Useful Tip
Start the permitting process early to avoid delays. Consulting a contractor or architect can help streamline the process and ensure all paperwork is accurate.
Securing permits ensures your project is compliant, safe, and legally protected, keeping your custom garage project on track.
Step 6: Plan the Garage’s Interior Layout and Utilities
Designing a Functional Interior Layout
After securing permits, focus on planning the interior layout of your custom garage. A well-designed interior maximizes functionality, safety, and comfort, meeting all your needs—whether for parking, storage, or workspace.
Key Elements of Interior Layout Planning:
- Vehicle Parking and Access:
- Space Requirements: Ensure enough room for vehicles and door clearance. Standard spaces are 9×18 feet; adjust for larger vehicles. Leave perimeter space for storage and movement.
- Garage Door Placement: Align doors with the driveway and consider door height for larger vehicles.
- Storage Solutions:
- Overhead Storage: Use ceiling-mounted racks for infrequent items like seasonal decorations.
- Wall-Mounted Systems: Install pegboards, hooks, and cabinets for organizing tools and equipment. Opt for customizable solutions.
- Workbenches and Tool Stations: If used as a workshop, allocate space for a workbench and ensure easy access to tools.
- Utility Considerations:
- Electrical Systems: Install adequate outlets and lighting, including 240-volt outlets for heavy equipment.
- Plumbing: Plan for water supply and drainage if adding a sink, washer/dryer, or bathroom. Consider a water heater for hot water.
- HVAC Systems: Install heating, ventilation, and air conditioning as needed. Ensure proper ventilation for safety.
- Safety Features:
- Fire Safety: Install smoke detectors, a fire extinguisher, and a fire-rated door if attached to the home.
- Security Systems: Include alarms, motion detectors, cameras, and smart garage door openers for remote access.
- Aesthetic Considerations:
- Flooring Options: Use durable, non-slip materials like epoxy coatings or rubber tiles.
- Finishing Touches: Paint walls in light colors to brighten the space. Consider adding a mural or logo for a personalized touch.
Useful Tip
Plan for future needs by incorporating flexible storage solutions and considering potential changes. This approach can save on future renovation costs.
A well-planned interior layout and utilities enhance the functionality, comfort, and safety of your custom garage, adding significant value to your property.
Step 7: Execute the Build with Professional Contractors
Hiring the Right Professionals for Your Custom Garage Project
With planning, design, and permits in place, it’s time to hire contractors to bring your custom garage project to life. Choosing the right professionals is crucial for ensuring a high-quality build that meets your timeline, budget, and expectations.
Key Considerations When Hiring Contractors:
- General Contractor (GC) Selection:
- Role: Oversees the entire construction process, coordinates subcontractors, manages schedules, and resolves issues.
- Choosing a GC: Look for experience in similar projects, check references, and ensure they are licensed and insured.
- Subcontractors and Specialists:
- Hiring Specialists: You may need electricians, plumbers, or HVAC technicians for specific tasks.
- Coordination: GCs usually hire and manage these specialists, but clear communication is essential to avoid delays.
- Managing the Construction Process:
- Site Visits: Regularly visit the site to monitor progress, discuss changes, and address concerns.
- Communication: Keep open lines of communication with the GC for updates on progress and budget.
- Quality Control and Inspections:
- Inspections: Ensure compliance with local codes through various inspections arranged by the contractor.
- Final Walkthrough: Review the work with your GC, identify any remaining tasks, and ensure satisfaction before final payment.
- Staying on Budget and Timeline:
- Budget: Discuss budget expectations upfront, establish a contingency fund, and request detailed invoices.
- Timeline: Set a realistic timeline with your contractor and monitor progress to stay on track.
Useful Tip
If unable to visit the site regularly, request progress photos and updates to stay informed.
By hiring the right professionals and maintaining strong communication, you can ensure a smooth construction process and a high-quality custom garage.
Bonus Tips for a Successful Custom Garage Project
As you near the completion of your custom garage, consider these extra tips to ensure a smooth build and create a garage that meets your current and future needs.
Future-Proof Your Garage:
- Anticipate Future Needs: Plan for future upgrades, like adding an electric vehicle charging station, to save time and money later.
- Scalability: Design the garage to allow for easy modifications, such as adding storage or another vehicle bay.
Invest in High-Quality Materials:
- Durability: Choose high-quality materials for flooring, insulation, doors, and windows for longevity and better energy efficiency.
- Weather Resistance: Select materials suited to your climate, like moisture-resistant options for humid areas or reinforced structures for snowy regions.
Optimize for Energy Efficiency:
- Insulation and Ventilation: Proper insulation and ventilation improve energy efficiency and comfort.
- Lighting Solutions: Use energy-efficient LED lighting and consider natural light sources like skylights.
Incorporate Smart Technology:
- Smart Garage Door Openers: Install openers with remote control and security features.
- Integrated Security Systems: Enhance security with smart cameras, motion detectors, and alarms integrated into your home’s system.
Don’t Forget Aesthetic Appeal:
- Curb Appeal: Ensure the garage design complements your home’s exterior.
- Interior Finishes: Use painted walls, epoxy floors, and decorative elements to enhance the interior.
Maintain Open Communication with Contractors:
- Regular Check-Ins: Keep communication open to address issues promptly.
- Final Walkthrough: Conduct a detailed walkthrough to ensure all work meets expectations.
Useful Tip
Document the construction with photos and notes for tracking progress and increasing home value if selling.
By following these tips, you can avoid common issues, enhance functionality, and create a custom garage that meets your needs.
Conclusion
Building a custom garage is a significant investment, but with careful planning, the right team, and attention to detail, it can be a highly rewarding project. By following the steps outlined in this guide—from setting a clear budget and choosing the perfect design to hiring skilled contractors and adding finishing touches—you’ll be well on your way to creating a garage that meets all your needs and enhances your property’s value.
Remember, a successful custom garage project is about more than just the structure itself; it’s about creating a space that complements your lifestyle, supports your hobbies, and provides long-term satisfaction. With the right approach, your custom garage can become a functional, stylish, and enduring addition to your home.

